an edible perspective field trip
/Sunday, Chris + I were actually able to sleep in. A rarity! It’s nice to be in one home, instead of living in one, renovating the other. Although we have quite the tornado of a mess going on in our living + dining room right now!
We both had some computer work to get done and before I knew it, it was time to go on a little field trip.
Well, first I stopped by the gym and then I went on a field trip.
I was off to see our concrete counters being made!
I asked Steve to let me know when they would be pouring our counters, so I could check out the process and snap some photos. Sunday afternoon it was! Steve + Greg are dedicated, passionate, and extremely hard working!
You know the design nerd in me was all over this!!
Steve + Greg told me about the whole process, as I got to watch them go through it. I was there for about 2hrs in total and had a blast.
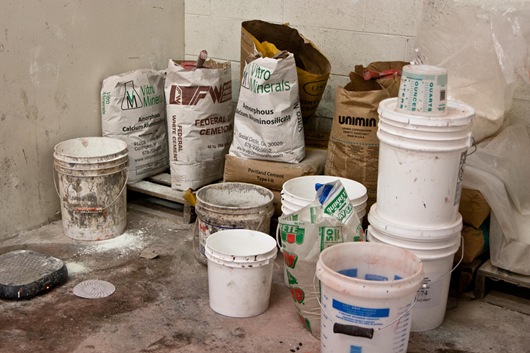
Here are there powder color dyes.
Here are our countertop forms! The red foam, is a mold so the concrete doesn’t get poured where our sink will be.
And speaking of sink…check this baby out!! It’s 10” deep and very long. I cannot wait to have this single-basin sink in the kitchen!! I hate when you have large pans [um, every.single.day.] and you can’t even fit ONE in the sink to soak.
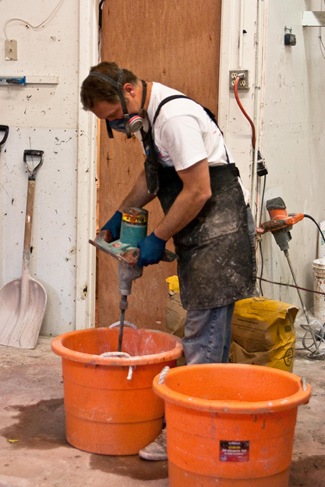
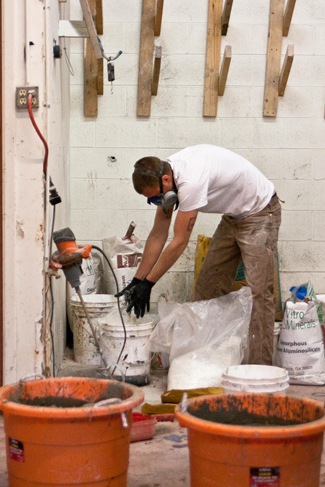
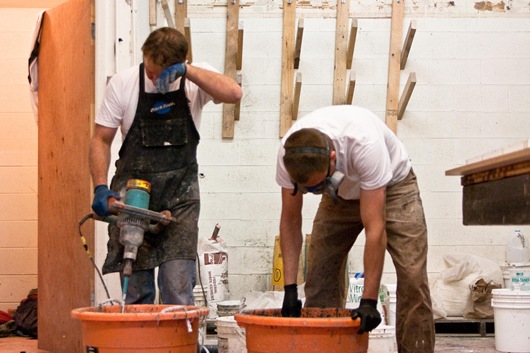
Mixing the concrete with some of the sand and color.
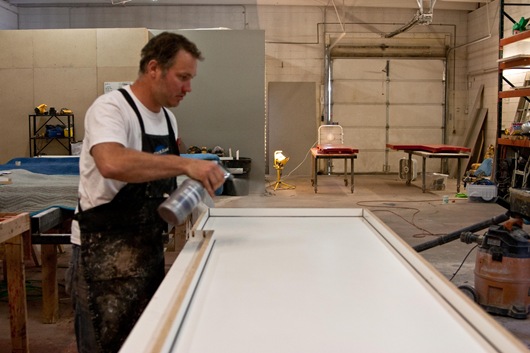
Hmmm…I forget what was in the bottle in this photo, but Steve was basically getting the surface ready for our counters to be poured. What looks like the bottom of the form in this photo, will actually be the top of the counters when they are flipped over.
That is a crazy jet black counter there were working on, earlier Sunday morning. They said to achieve a jet black color is really hard. The black dye actually eats the water, when it’s mixed together!
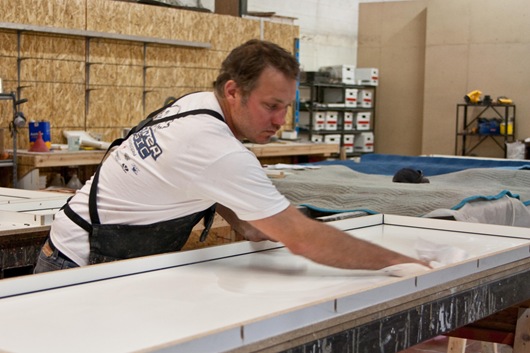
Steve, wiping down the surface, making sure there is no debris that will end up in the concrete pour.
There is quite a bit of math involved in this process. You have to figure out the proportions of each ingredient and then how much of each, depending on the size of the pour.
The color proportions made specifically for us!
Okay…and a sneak peak at the color!!! It may just look gray here, but there is a hint of blue and will blend perfectly with the color scheme in the kitchen!
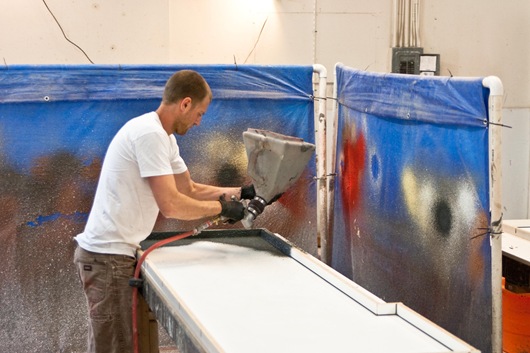
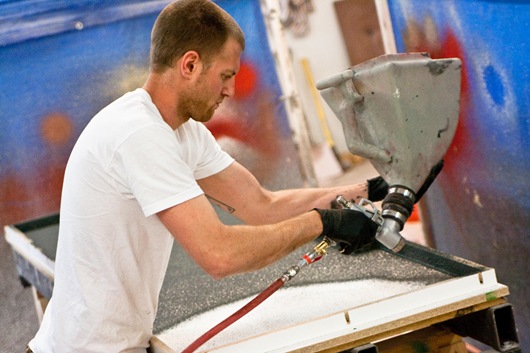
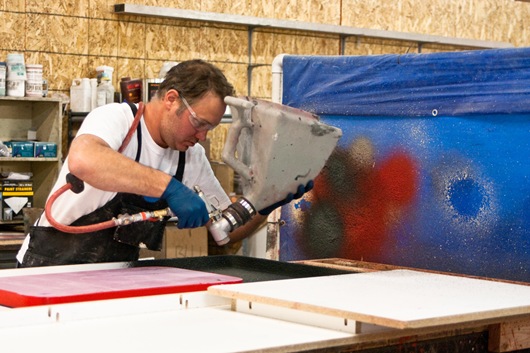
There’s Greg! He was about to start spraying the top layer of concrete into one of the forms.
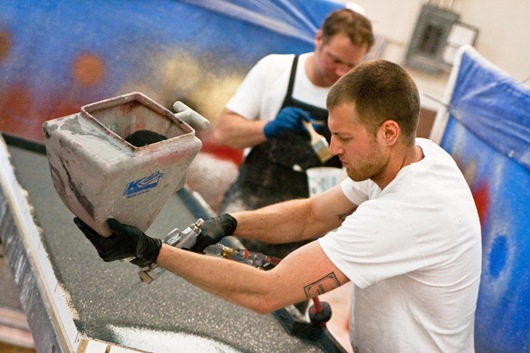
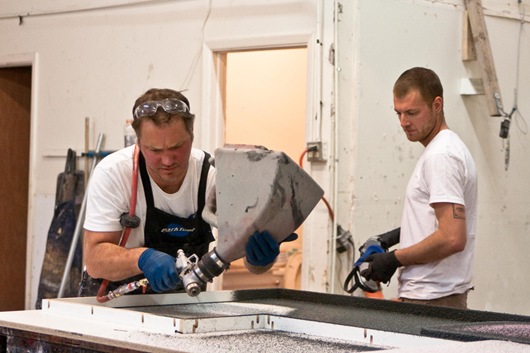
The top layer is sprayed in, so it’s perfectly smooth, with no air gaps/holes in the surface. Also, the very top layer has no reinforcing in it, which also helps it to be perfectly smooth.
I had so much fun photographing. They even gave me a ladder, and I didn’t fall off!
I felt like I was at an episode of Unwrapped….Concrete Edition ;)
Steve filled in any holes that were missed, with a paint brush.
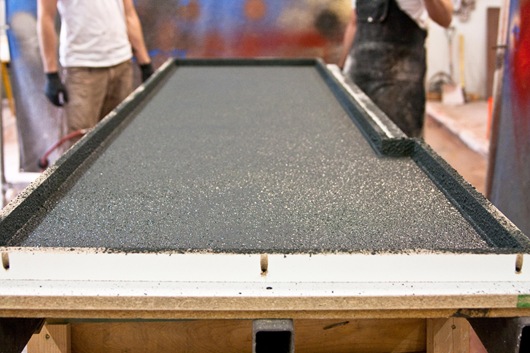
Ta-daaaaaaaa! Top layer done!
Talking about super fancy + technical things before pouring.
While they were figuring things out, I nosed around their shop.
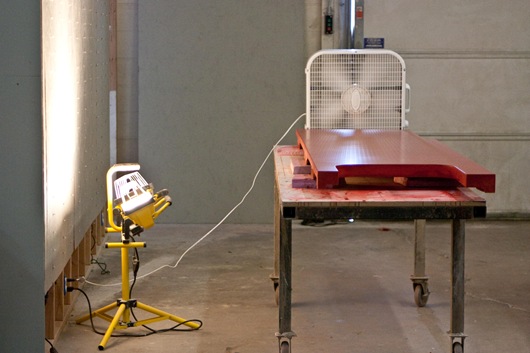
FIRE RED counters!! These are being installed in a house close to ours. Intense!!!
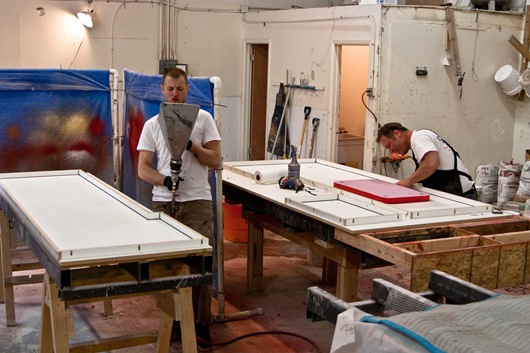
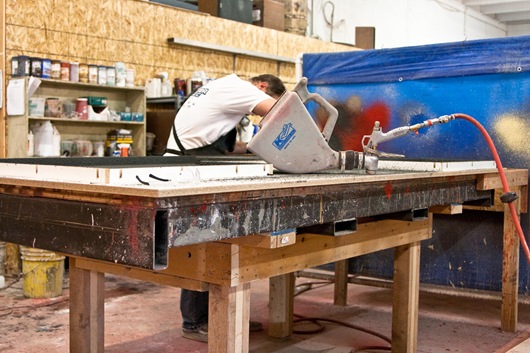
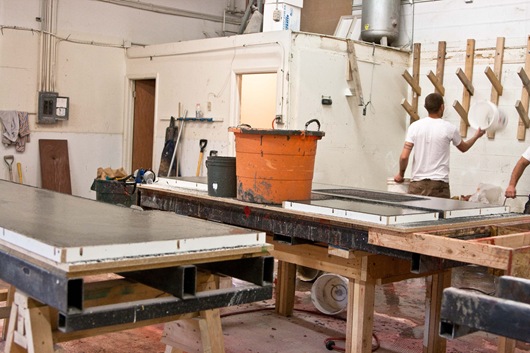
A zoomed out view of the set up. The screens are there so the concrete doesn’t go all over, hitting other counters, etc.
Steve sprayed piece #2.
Work it, Steve!!
Steve is now a blog reader! Hi, Steve!! :)
These are the forms they make when they come out to measure the counters. They glue the strips together to make the exact shape + size of the counters, then come back to the studio and make a wood frame.
Making sure there are no small gaps.
Check out the steel reinforcing that is needed on these tables!!! The steel helps so the tables don’t bow, because the concrete is so heavy. It also ensures the tables maintain a perfectly level line.
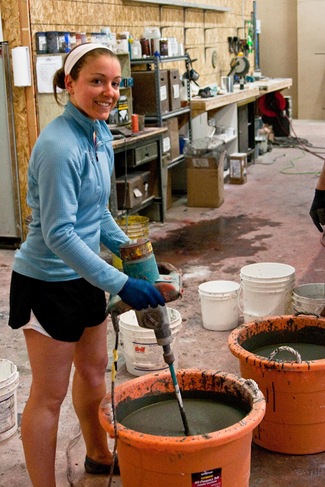
Steve started mixing the concrete and said that I could help! Oh yaaaaaaaah!
There is something I find completely awesome about this photo, but I’m not sure what it is??
Here, Greg is weighing the reinforcing fibers that will be mixed in with the concrete. This helps ensure our counters will not fall apart. :)
Tons of work!
Here I go!! They warned me that the mixer had quite a bit of torque…I braced myself.
Oh, and like the outfit? Very “get your hands dirty” kind of attire, no? I just came from the gym…hehe
Just like baking…everything has to be perrrrrrrrrfect!
I had a little too much fun!
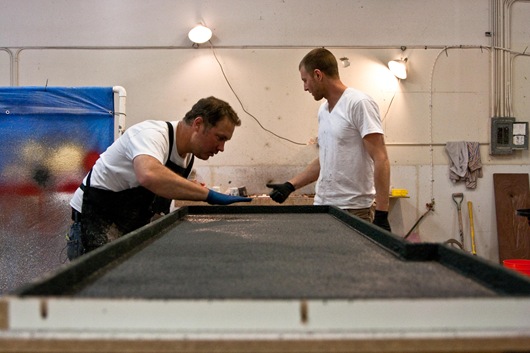
Making sure the surface looks perfect, before pouring the concrete.
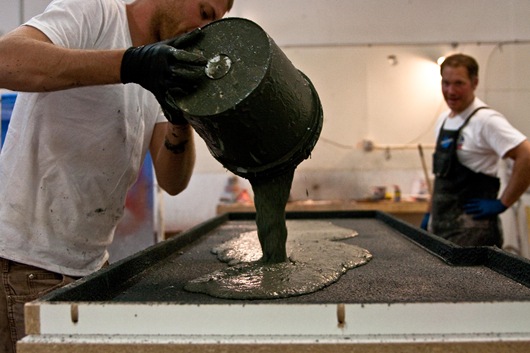
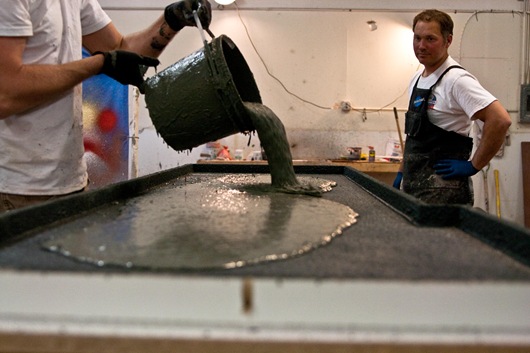
I know how you all love those POUR shots!!!
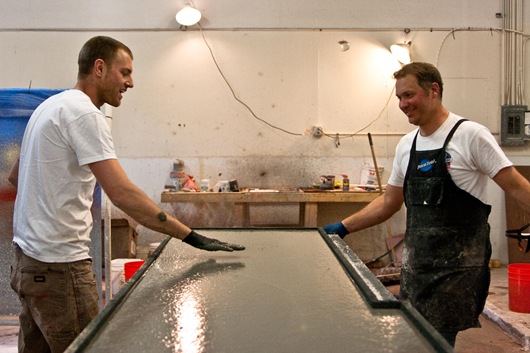
Smoothing it out.
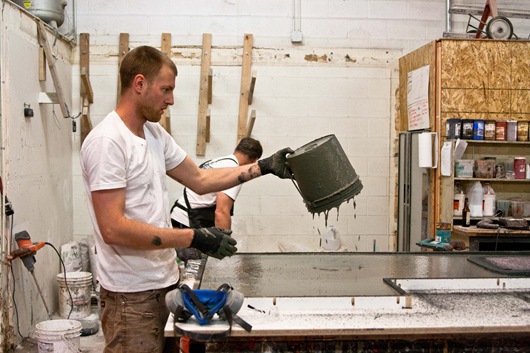
Scraping every last bit out.
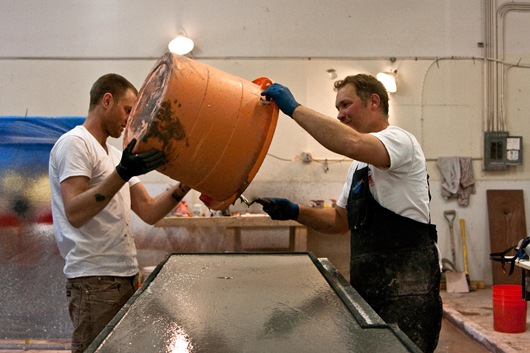
More pour action.
Drip!
A small piece, for the 18” cabinet next to the stove.
Scraping down the edges.
Finishing things up.
Aaaaaaand, DONE!
I hope you enjoyed this little adventure as much as I did. It’s really fun to be so involved with the process of everything. Don’t forget to check out Steve + Greg on Facebook. They have a ton of photos that shower their extremely impressive work. My favorite is a circular, stall shower. It’s crazy impressive!!
Hope you all had a lovely weekend!
Ashley

