flour happy

Did you catch my Round 2 entry for Project Food Blog?  If not, check it out and then go cast your vote!!  Thanks so much for all of your support!!

I made rolled oats today, for the first time in a loooong time.  I only had Steel Cut, didn’t want to blend them for Scottish, and didn’t want to wait 20min for them to cook.  Rolled it is!

(1 of 46)

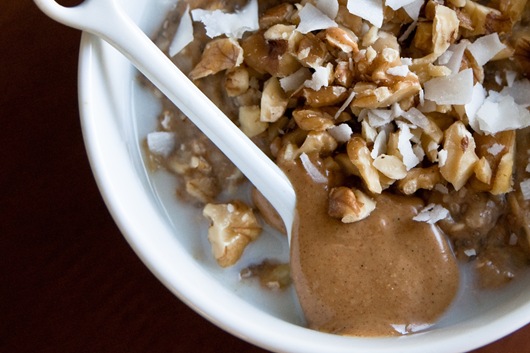
Typical mix ins: 1 small banana : 2T chia seeds : 1t cinnamon

Toppings: 1/4c walnuts : 1T cinnamon vanilla peanut butter : coconut : almond milk

(2 of 46)

Mondays = Bread baking day! Today, I wanted to try a little more basic whole wheat bread recipe.  I searched for awhile and found a lot of recipes called for dried milk, which I did not have.  I decided to go with Jenna’s recipe for “beginner’s rolls.” 

(8 of 46)

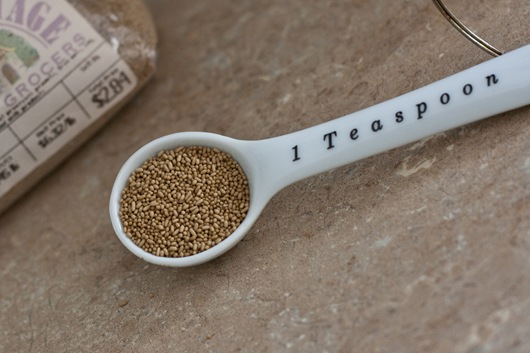
Here is the bulk yeast I buy.  The grains are much larger than what come in those little yeast packets.  It seems to work really well!

(9 of 46)

I decided I would play around with the flours for this recipe.  Was that really a good decision for a bread recipe I’ve never made?  Maybe not, but flour isn’t too expensive, and I felt like experimenting.  So much so, that I made 2 batches!

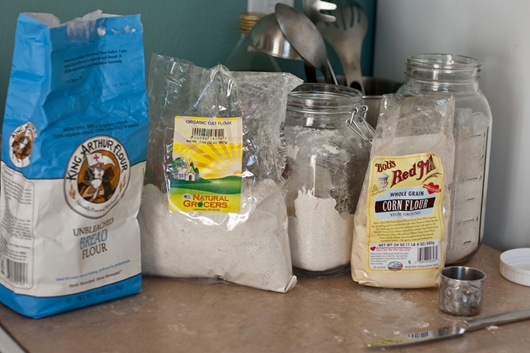
Instead of whole wheat flour + white flour this batch included:

  • whole wheat pastry flour
  • stone ground whole wheat flour
  • white bread flour
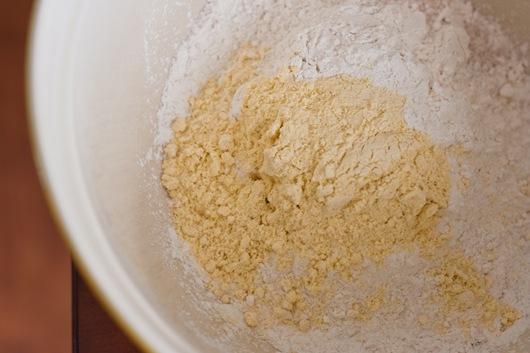
  • oat flour

(10 of 46)

The 2nd batch included:

  • whole wheat pastry flour
  • stone ground whole wheat flour
  • white bread flour
  • fine ground corn flour

I wanted to see if the corn flour was noticeable in the final product.  And, it was!

(11 of 46)

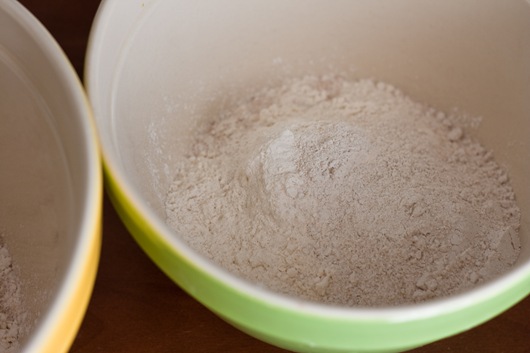
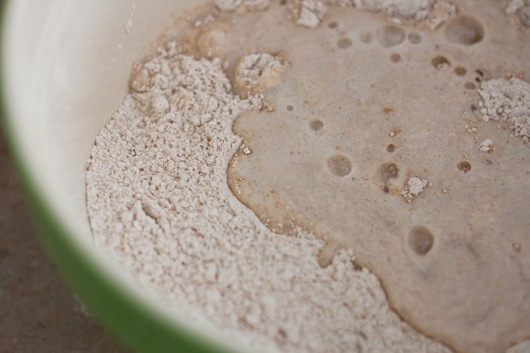
Flour happy?  Me thinks so. :)  When measuring flour, I scoop it into the measuring cup with a spoon, and then scrape off the excess with the back of a butter knife.  You never want to pack your flour into the measuring cup, and you always want to level it off.

(12 of 46)

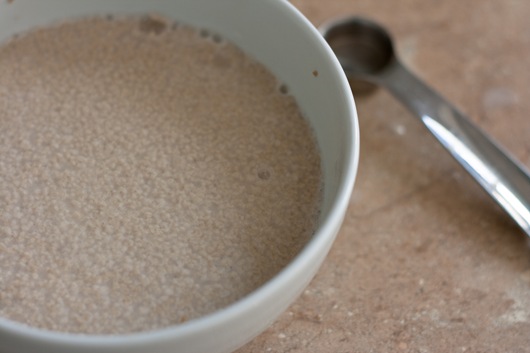
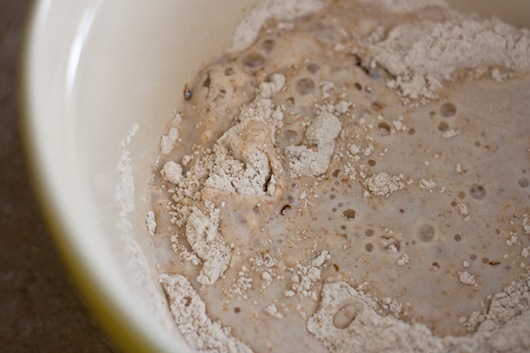
Fluffy yeast.  It’s not scary, I promise! 

(13 of 46)

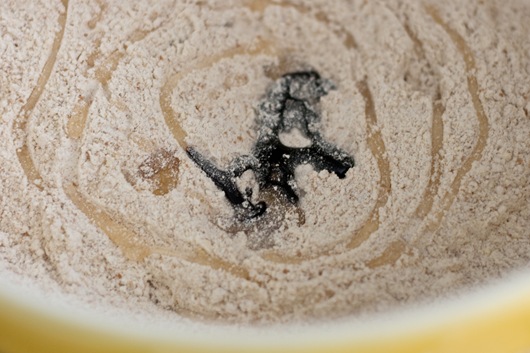
In the first batch, with oat flour, I mixed in a little honey + molasses.  A little bit goes a long way.  I could definitely detect them in the baked bread.

(14 of 46)

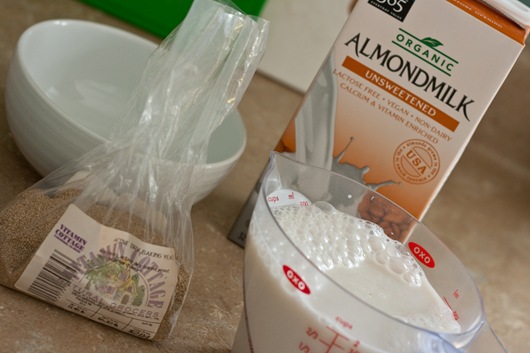
In the 2nd batch with the corn flour, I added a little brown rice syrup.  In both loaves, I used organic, unsweetened almond milk.  I think it worked perfectly and probably added a little flavor.

(15 of 46)

Gooooey. 

(16 of 46)

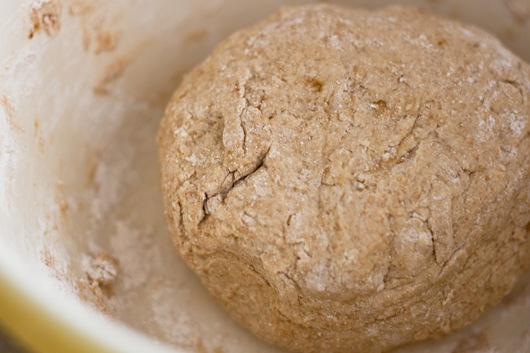
After adding the wet to dry, I formed a smooth ball, without much kneading.

(17 of 46)

(18 of 46)

Then let the dough sit for 30min.  I swear the matching towels/bowls was an accident.  Those just happened to be the first towels in the drawer.  On another note…It was really easy to make 2 batches at once.  It probably took an extra 10min total, if that. 

(19 of 46)

Doubled after 30min.

(23 of 46)

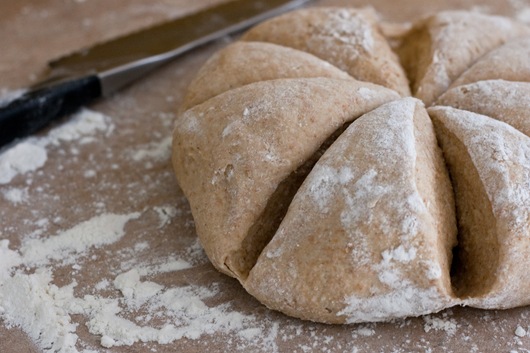
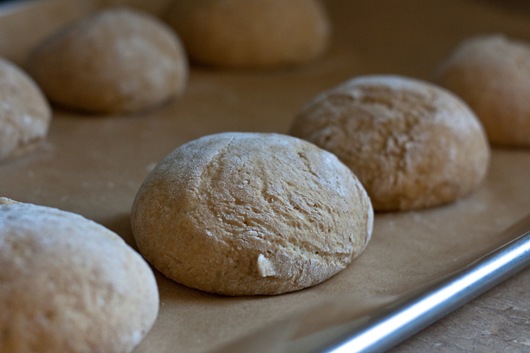
With the first batch, I cut it into 8 sections, then tore the apart and rolled into balls.

(24 of 46)

(25 of 46)

Not perfect, but good enough.

(26 of 46)

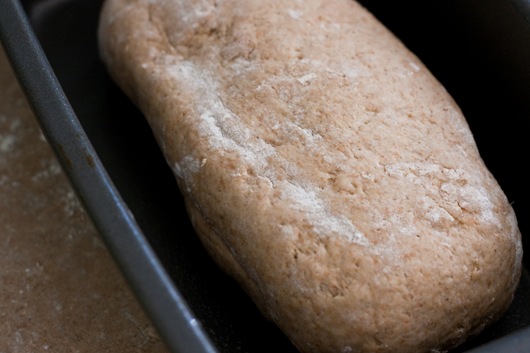
I wanted to try and make a loaf out of the 2nd batch.  After a little kneading it went in the pan.

(27 of 46)

They both got covered with towels for 30min, and then the rolls went in the oven for about 12-15min.  [Baking time takes a little longer at a higher elevation.]

(28 of 46)

While baking, I had my FAVorite yogurt.  I love love love Wallaby yogurt!!  I mean look at that cute kangaroo!  Sometimes, I just need a break from Greek yogurt!  The Banana Vanilla flavor is deeelicious.  I also realllly love their vanilla bean + maple.  Although, all of the flavors are tasty.  I topped it with some carob chips, which I bought for the first time recently.  They were a bit odd at first, but I find myself snacking on them all of the time now.

(31 of 46)

Before I knew it, my rolls were done!

(32 of 46)

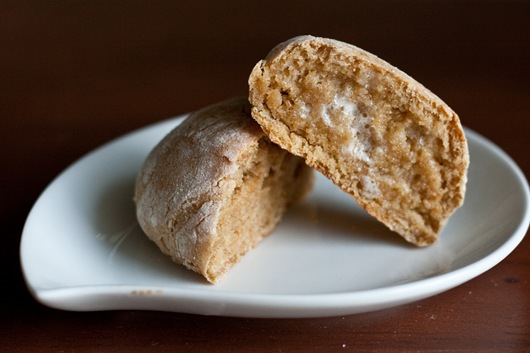
This was the batch with corn flour + molasses.  You can definitely tell a color difference between these + the loaf! 

(33 of 46)

Butter + fresh baked warm bread = what could be better?

(34 of 46)

These turned out pretty tasty, especially considering the changes I made!  If anything, i would say they were a bit dense.  During the 2 rises, they doubled each time, but then in the oven they didn’t really puff up at all.  It looks like Jenna’s stayed about the same size pre + post bake as well.

(35 of 46)

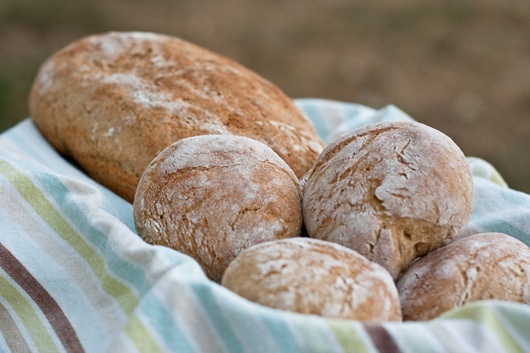
All together now!  Rolls + loaf :)  Something about making bread makes me really excited + proud of myself. hehe

(37 of 46)

How cute are these!?  I thought they would be perfect in for Chris to grab with some pb+j on his way to work, or for an egg + cheese breakfast samich.

(38 of 46)

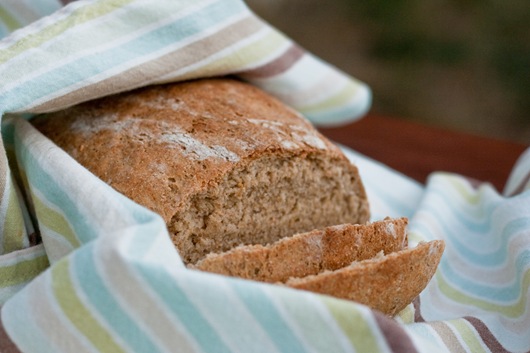
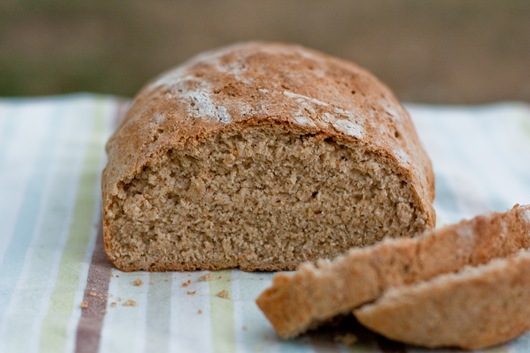
The loaf didn’t really puff up much either.  It has a really good crust and was delicious with dinner.  I was making the loaf for sandwich bread, but the slices aren’t really tall enough.  It’s about 1/2 the height of typical sandwich bread. 

(39 of 46)

Still delicious though! 

(40 of 46)

Both batches definitely worked.  I should probably try the original way that Jenna posted to see the difference in density.  This is a great recipe for rolls, but not the best for a loaf of bread.

(41 of 46)

You don’t have to worry though, it will ALL be eaten!!

(42 of 46)

Here are the changes I made for the 2 different batches.  Jenna provides great instructions on her site, as to how to make the bread.  I definitely suggest making these into rolls and not a loaf.  Unless you want a small loaf for 1/2 sized sandwiches or to eat along with dinner.

Flour Happy Rolls

  • 1c unsweetened almond milk
  • 2t active dry yeast
  • 3/4c whole wheat pastry flour
  • 3/4c stone ground whole wheat flour
  • 3/4c white bread flour
  • 1/4c finely ground corn flour
  • 2T honey
  • 2t molasses
  • 1/2t salt
  • 1/4t sugar

*I mixed the dry ingredients together and then mixed in the honey + molasses with a fork and then added the wet.

Flour Happy Loaf

  • 1c unsweetened almond milk
  • active dry yeast
  • 3/4c whole wheat pastry flour
  • 3/4c stone ground whole wheat flour
  • 1/2c white bread flour
  • 1/2c oat flour
  • 2T brown rice syrup
  • 1/2t salt
  • 1/4t sugar

I might have another go at bread making tomorrow.  I’m looking for a loaf that’s a bit lighter!

I’ve been keeping up with swimming twice a week and biking about 3x per week.  I’ve also been biking around town quite a bit.  I can tell my legs are getting stronger.  They are also packing on the muscle.  My jeans are starting to get pretty tight on my thighs, which is always my issue, but now even more so.  :)

My swim today went like this:

  • 3 mile bike to the pool
  • 100m kickboard warm up
  • 500m freestyle
  • 500m breast stroke
  • 500m back stroke
  • 100m freestyle cool down
  • 3 mile bike home

Each 500m is 20 lengths of the pool, or 10 laps.  On every 10th lap I would do a sprint for those 25m.  This helps build up my strength + stamina, but also helps me keep track of how far I’m going!  I just have to keep counting to 10 and remembering how many sets I’ve done.  When I first started, I would lose track all of the time, but I’ve got a handle on it now…usually!

Leaving for Cleveland EARLY Wednesday morning!!  Can’t wait to see the family!!!

Bread + pnut butter are calling my name…niiiight!

Ashley

hungry?

Finally!  The full details on all of the recipes I have been teasing you with! 

I whipped up a batch of Steel Cut oats the other morning.  I’ve been addicted to adding fresh blueberries in the mix.  I’ve been enjoying hot oats every morning for about a week now, thanks to my plated oats idea!  Don’t get me wrong, it’s still a hot breakfast, but it hasn’t made me sweat!

(1 of 1)-2

contents

  • 1/4c steel cut oats
  • 1 1/4c water
  • 1/4 milk of any kind
  • 1/2t cinnamon
  • vanilla
  • 1/2 banana

topped with

  • handful of blueberries mixed in at the end
  • Love Grown Foods granola
  • a few raspberries
  • cacao nibs – love these!!

The other day, Mama Pea posted a recipe for brownies that I knew I immediately had to try.  I had never tried vegan brownies before and was very curious.  This recipe uses no oil and all whole wheat flour.  I think you can actually get away with eating them for breakfast :)

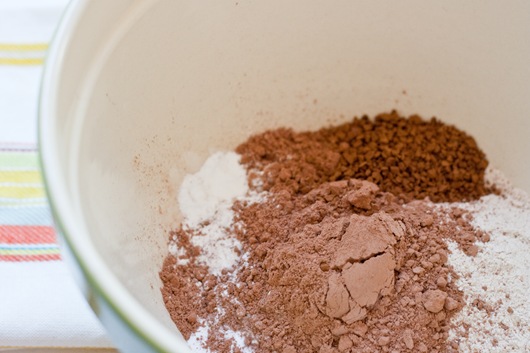
Dry ingredients – I changed a few things from MP’s recipe, like adding 1T instant coffee.  There was a mild hint of coffee in the final product, which I loved!

(1 of 22)

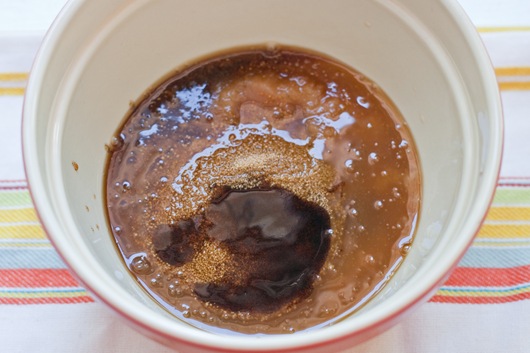
The wet – I used 1/4c sucanat and 1/4 brown rice syrup, instead of 1/2c cane sugar.  It worked really well and I think the brown rice syrup helped make these brownies extra fudgey.  Next time, I would actually even reduce the the amount of sugar to 1/3c instead of 1/2c.  It’s amazing how little sugar these delicious brownies need!  I think the applesauce really helps to naturally sweeten them.

(2 of 22)

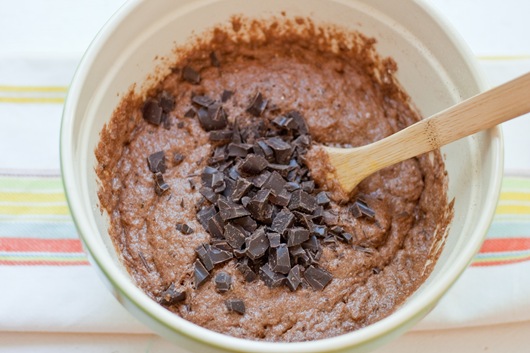
I didn’t have vegan chocolate chips on hand but I did have a non-dairy dark chocolate bar that I chopped up instead.  I have made healthy brownies with applesauce before but they have never ever turned out this good.  The recipes I’ve used in the past would call for eggs and I think the combo of eggs + applesauce made them really cakey + airy.  They were always okay, but not even a close comparison to these. 

(3 of 22)

They’re done in about 20min when they start to pull away from the edge of the pan or crack slightly.  I let them cool for a good 30min before cutting them from the pan.

(4 of 22)

I figured they would be good…but not oh.my.gawd. I can’t stop eating them, good. 

(5 of 22)

These would be a hit at ANY party!  Chris loved them!

Double Chocolate Vegan Brownies – that will blow your mind + mouth [adapted from Mama Pea]

  • 3/4c whole wheat pastry flour
  • 1/3c unsweetened cocoa powder
  • 1T instant coffee [optional]
  • 2t baking powder
  • 1/2t baking soda
  • 1c unsweetened applesauce
  • 1/4c sucanat
  • 1/4c brown rice syrup
  • 2t vanilla
  • 1/2c dark chocolate chunks/chips
  • 1/2t salt
  1. Preheat oven to 350*
  2. Mix flour, cocoa, baking powder + soda, coffee, and salt together in a large bowl.
  3. In a medium sized bowl combine applesauce, brown rice syrup, sucanat, and vanilla until thoroughly combined.
  4. Pour the wet into the dry and mix [by hand] until combined.  Make sure to scrape the bottom of the bowl but do not over mix.  The batter will be somewhat lumpy. 
  5. Let rest for a few minutes [it will become a bit foamy] and then mix in chocolate chips.
  6. Pour + spread evenly into an 8x8 greased pan.
  7. Bake ~20min until edges pull away from the pan or toothpick test.
  8. Let cool for at least 30min before cutting out of pan.

**High Altitude instructions: 

  • 1 3/4t baking powder
  • oven at 375*

(18 of 22)

These are extremely flavorful.  Like I said the slight hint of coffee was awesome!  But you can definitely leave that out. 

(19 of 22)

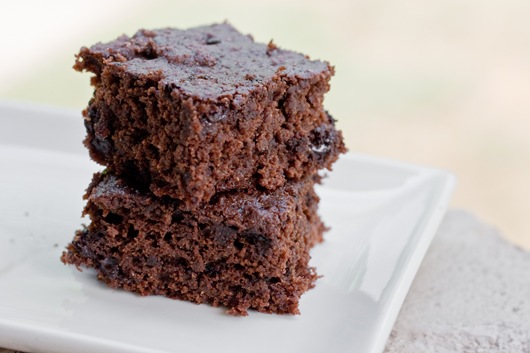
They were thick and fudgy and definitely the furthest thing from being dry.  [trying to avoid using a certain word that starts with “M” hehe]  The only thing they didn’t have that buttery, oil + egg filled brownies have is that flakey crust on top.  But you won’t miss it a single bit!

(20 of 22)

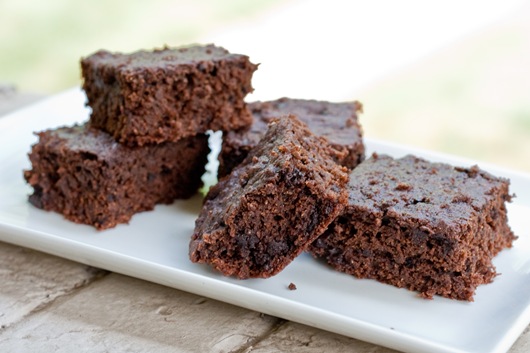
I am usually pretty good at only eating 1 or 2 of whatever I bake but not with these.  The slight crunch from the chocolate inside is awesome as well.  I’m sure if you like nuts in your brownies that would be a good addition too.

(21 of 22)

I like nuts in bread but not brownies!  You seriously need to make these…like, yesterday!!  Definitely great for the 4th of July!

(22 of 22)

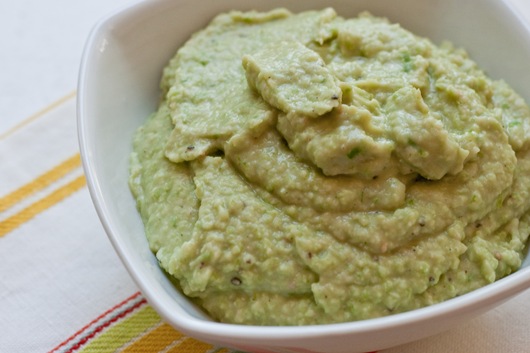
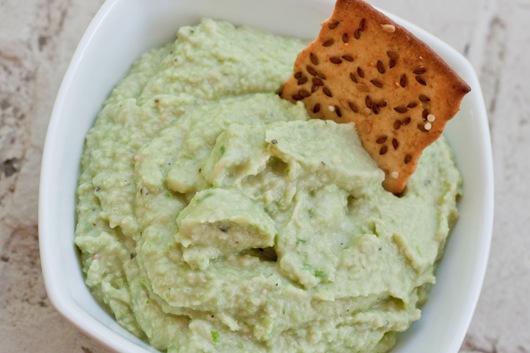
As is this.  White Bean + Garlic Scape dip!  This has some zing to it and is not lacking in flavor.

(6 of 22)

I’m completely obsessed with the garlic scape pesto and wanted to try using them for something else.  This was really good but I think I actually would just rather make the pesto and use that for a dip!  However, this packs more protein [from the beans!] and less fat [even though the pesto uses healthy fats]. 

(7 of 22)

White Bean Garlic Scape Dip

  • 4 chopped garlic scapes, flowery end removed
  • juice from 1 medium lemon
  • 1/2t coarse sea salt
  • pepper to taste
  • 1 can rinsed + drained cannellini beans
  • 1/4c olive oil
  • 2-5T water
  1. Add chopped scapes and lemon to your food processor.  Process until finely grated, scraping the bowl as needed.
  2. Add beans, salt + pepper and process.
  3. Stream in olive oil 1T at a time, alternating with water 1T at a time until desired consistency is reached. 
  4. Process + scrape down bowl as needed.
  5. Add more s+p to taste.

Super easy!  Even though I prefer the pesto, this is still delicious!  I enjoyed it with crackers and on top of a salad but I think it would be awesome with fresh veggies.  It is extremely flavorful!

(8 of 22)

Pizza Sauce

  • 28oz can whole peeled tomatoes, drained + chopped [saving the liquid in a bowl]
  • 2 cloves minced garlic
  • 2T olive oil
  • 1/4-1/2t salt
  • pepper to taste
  • 1T sugar [I used sucanat]
  • 3T tomato paste
  • 2t dried oregano
  • 2t dried basil
  • 1t dried thyme
  • ~1/4c tomato liquid
  1. Heat olive oil in a large pot, just over medium heat.
  2. Add in the chopped tomatoes, being extremely careful from the oil splashing.  Do not just plop them in!  Use a ladle to lower them into the pot.
  3. Let cook for ~5min.
  4. Add in seasonings, tomato paste, and 1/4c tomato liquid.
  5. Reduce heat to simmer for about 20-30min, stirring every 5min or so.
  6. Take off heat and leave chunky, puree with hand blender, or throw in a blender or food processor until desired consistency is reached.

I like use my hand blender and like the sauce pretty thick.  If it’s too thick, then out with more tomato juice and also season more according to your taste.  The flavors will enhance even more the next day.

This is SO worth making.  It blows ANY canned pizza sauce right out of the water.  Trust me!  It’s basically a slight adaptation of the pasta sauce I came up with about a year ago.  I definitely can eat this by the spoonful!!  Enjoy!

(9 of 22)

I also prepared homemade pizza dough for Chris’s arrival!  It was my first time making pizza from scratch since living in Colorado.  It really is not that hard.  You just need to have the time to allow for it to rise.  During it’s first 1hr rise, I went for a 1hr bike ride.  Perrrrrfect!

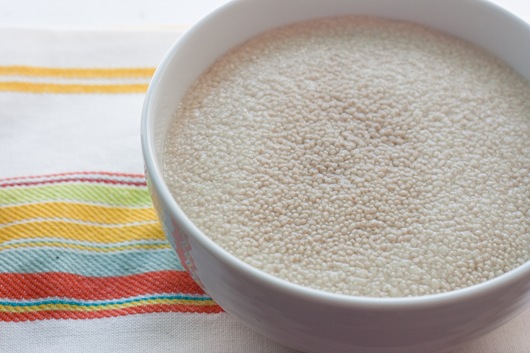
I used dry active yeast and here is what it will look like if your yeast is still active.  This happens after about 10min.

(10 of 22)

I kneaded the dough with my Cuisinart dough hook but you could also knead by hand for about 8min.

(11 of 22)

go go go!

(12 of 22)

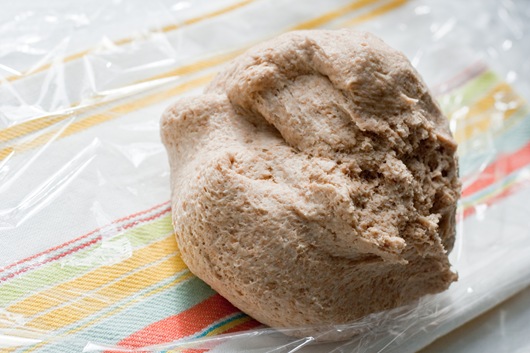
Dough hunk.

(13 of 22)

After the first rise.

(14 of 22)

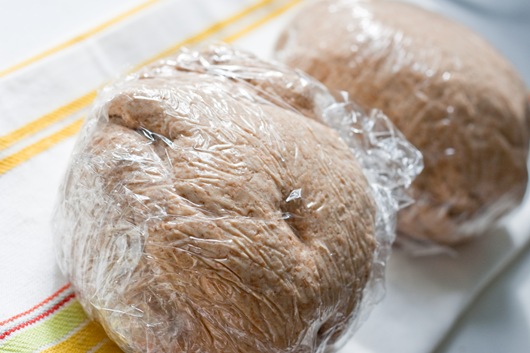
After deflating from the 2nd rice I split the dough into 2 balls, wrapped in plastic and stored them in the fridge.

(15 of 22)

(16 of 22)

Crunchy WW Pizza Dough adapted from All Recipes

  • 3 1/4c stoneground whole wheat flour [or regular wwf]
  • 1t sugar
  • 1 1/2c warm water [~110*]
  • 1T active dry yeast
  • 2T olive oil
  • 1t salt
  1. Dissolve sugar in warm water. [I used sucanat for the sugar]
  2. Sprinkle yeast over water/sugar mixture and let sit for ~10min until fully activated + foamy. [do not stir]
  3. Stir olive oil + salt into the yeast mixture.
  4. In your stand mixer bowl or large kitchen bowl add in the flour.
  5. Next, add in yeast mixture and stir until the it starts to come together.
  6. Turn your stand mixer on medium – med/high for about 5min with the dough hook or turn out onto a floured surface and knead by hand for about 8-10min.
  7. Shape into a ball and rub with a very light coating of olive oil.
  8. Set dough in a large bowl and cover with a kitchen towel to rise for 1hr.
  9. After 1hr, punch the dough down, forming into another ball.  Cover with towel and let rise for another 45min.
  10. Punch dough down again, separate into 4 smaller balls and roll out onto a floured surface into desired pizza shape.
  11. Bake at 425-450* for about 10min.

This will make 4 medium sized, thin crust pizzas or 2 larger thicker crust pizzas.  I guess it all depends on how thinly you roll out your dough.  I would say I rolled this to about 1/8” thick and it let to a perfectly crispy crust all throughout the pizza.  It was perfect!

(17 of 22)

Final pizza photos coming soon!

Now I’m off for some exercise…booyah!

~Ashley