Food Photography Tip of the Week |20|
/Food Photography Tip of the Week |20|
The evolution of a photo.
Today I wanted to share the evolution of how some of my photos come to be. While many of my photos are more on the simple side you’d be surprised at the small adjustments that go into each and every photo.
This photo set is from my recent post for Peach Raspberry Sorbet. One of the shots took about 15 minutes of tinkering before I felt it looked right. Styling a photo in this way is actually something I struggle with. I want everything to look natural and not overdone but that can be a hard look to achieve sometimes.
I had a goal of displaying the raspberries and peaches a bit more ornately for this one photo. While it may have been enough to show a cut peach, a bowl of raspberries, and nothing else I wanted to challenge myself to make it a bit more styled.
Below I’ll go through my thought process for this photo. Just this one single shot took 55 test shots to get right. Granted, a lot of those are duplicates to make sure I get a perfectly sharp photo.
Why is it hard to get a sharp overhead shot? ----> Sometimes the focus sensors don’t focus on your subject just right [not matter what angle you’re shooting at] and/or sometimes I shake the camera which is easy to do on an overhead shot. Also, I have to keep in mind the lines on the board since I handhold my overhead shots. Rotate adjustment edits can only do so much for you when lines are involved before things start to look skewed. If you’re able to use a tripod for overhead shots you’ll take many less photos since you can manually focus each shot and be certain the camera won’t shake.
Okay. Here we go!
----
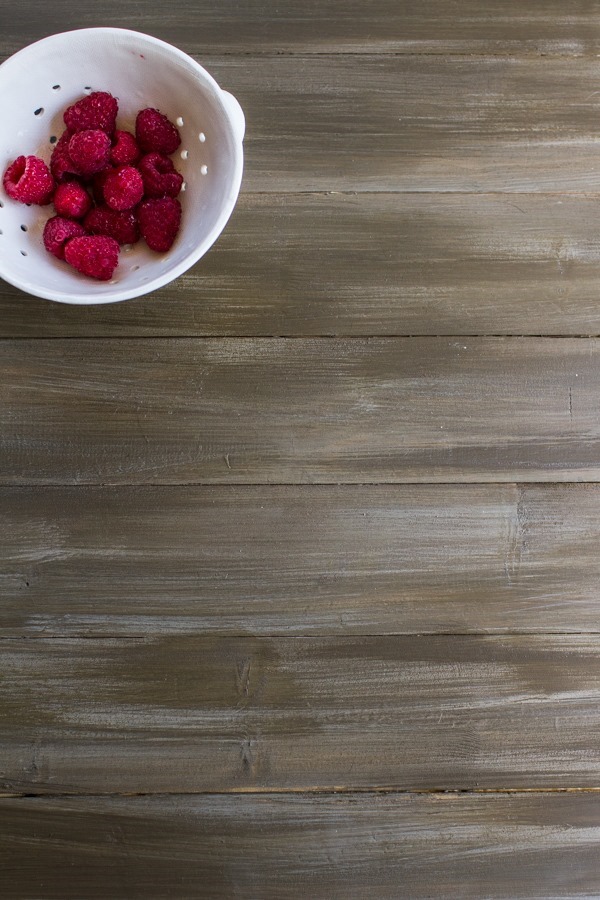
// I tried to decide if I wanted the strainer of raspberries in the shot so that was placed first.
Photo tip! Rinse fruit before shooting to give it a little bit of sheen and to see water droplets. This will bring more life to your photo.
// After 1 photo I took the strainer away and tried to naturally spread some of the raspberries on the board. I wanted to leave voided space on the right since I had light coming in that way and the left side would add some shadow.
// I then tried bringing in some of the peaches and just the edge of the strainer. It’s possible I should have stopped here. I do like the flow of this image but at the time I felt like it needed a little more.
// Then I added more fruit and brought the strainer to the top right of the photo to help frame it better. While it looked good through my eyes when I snapped the photo it felt way too heavy and not enough variance with the amount of fruit as it cascaded down.
// In this photo I tried to thin out the bottom a bit and bulk up the top for more of a progression. This caused it to look too clunky and full towards the center.
// Next, I tried a few more adjustments to thin out the center area of the fruit. I added a peach slice at the top left, moved one that was towards the center, and added a few raspberries near the top/center.
// The only adjustment I made below was adding a peach in the top left corner. I felt that corner needed a bit more color which would also help to frame the edge.
And this is where I stopped.
// This is actually the same image as above just after a few extra edits. After editing in Lightroom I took the photo into Photoshop to apply some dodging and burning. This basically allows you to adjust the shadows, midtones, and highlights to any degree and at any size. You can do this more generally in Lightroom but you have much more play in Photoshop. That said, I rarely take photos from LR to PS but once in awhile it does help to make a few additional edits. If you scroll to the photo above you can see there are less intense shadows behind the fruit and in the left corners of the photo. It helped to really highlight the light streaming in from the right of the photo and gives the left side additional grounding.
This style of photography is definitely a work in progress for me. I don’t feel like I have a natural eye for styling large pieces like this but as I practice I definitely notice improvement. It was fun to experiment and I thought it would be helpful to show you the process. It can be easy to think I just snapped this last image on the first try because that’s all you see. However, that is rarely the case!
Ashley


