
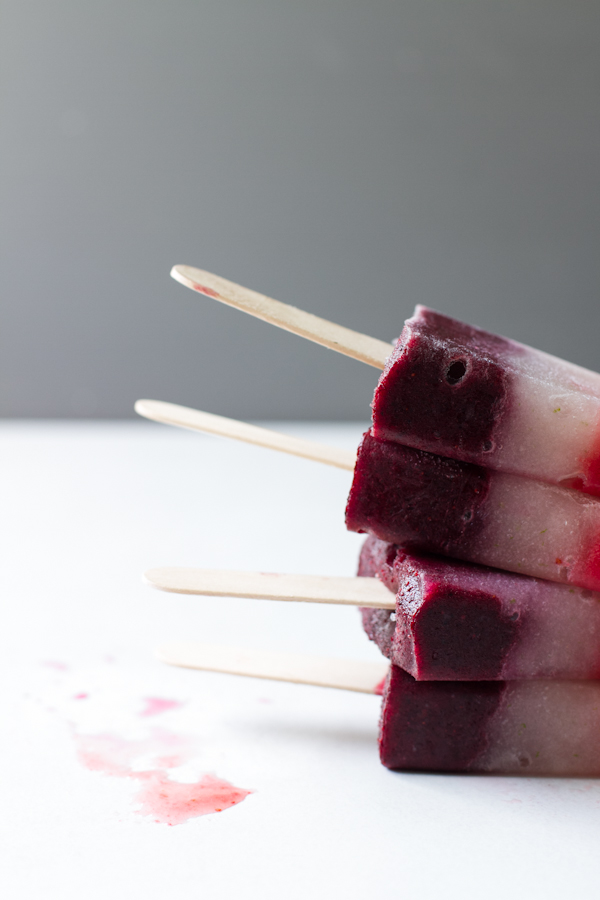
Berry Firecracker Popsicles
/Who doesn't love a popsicle?
Especially when the sun is shining and temps are above 90 degrees.

Popsicles are one of the best summer treats no matter your age.

They are also one of the easiest treats to make. All you'll need is a blender and a popsicle mold. But really, you can even do without the popsicle mold if you have a few small paper cups. Pour the mixture in, place a stick for the handle, freeze, then peel the paper cup away once frozen.
Super simple!

Growing up, I would have to say my very favorite popsicle was the firecracker popsicle. The electric blue raspberry layer was my favorite.
If only blue-raspberry was an actual fruit...

I went a little more au naturale with these popsicles using just a handful of ingredients and minimal sweetness.
You know, instead of this: water, high fructose corn syrup, corn syrup, sugar, contains 1 percent or less of the following: dextrose, malic acid, guar gum, citric acid, raspberry juice concentrate, lemon juice concentrate, cherry juice concentrate, modified cellulose, natural and artificial flavor, locust bean gum, red 40, blue 1.

Not that I would deny an old school firecracker popsicle if someone handed it to me on a hot day. I would definitely eat it.

But these are a fantastic alternative and a simple recipe to have the kids help with.

The addition of coconut water makes these pops extra hydrating! Perfect for those scorching summer days.
Berry Firecracker Popsicles
gluten-free, vegan // yields 4 popsicles
Strawberry Layer:
- 1 cup hulled strawberries, partially frozen
- 1 1/2 teaspoons agave, or honey
- 1/4-1/2 cup coconut water
Blackberry Blueberry Layer:
- 1/2 cup blackberries, partially frozen
- 1/2 cup blueberries, partially frozen
- 1 1/2 teaspoons agave, or honey
- 1/4-1/2 cup coconut water
Lime Layer:
*lime juice amount decreased 6/25
- 1 1/4 cups crushed ice
- 1/2-3/4 cups coconut water
- 2 tablespoons lime juice
- 1 tablespoon agave, or honey
- 1 teaspoon lime zest
*You want to start with berries that are either frozen then half thawed, or fresh and then half frozen. Either way works!
- Blend the strawberry layer ingredients in your blender, using the least amount of coconut water to reach a smooth consistency. You want the mixture as thick as possible for all of the layers.
- Empty into a bowl or glass and freeze for about 30 minutes until starting to thicken.
- Rinse your blender then blend the blackberry/blueberry layer ingredients in your blender, using the least amount of coconut water to reach a smooth consistency.
- Place in a bowl in the freezer for about 30 minutes until starting to thicken.
- Rinse your blender then blend the lime layer ingredients in your blender, using the least amount of coconut water to reach a smooth consistency. Taste and add more sweetener if desired.
- Place in a bowl in the freezer for about 30 minutes until starting to thicken.
- After all mixtures have thickened [You aretrying to reach a texture where you can spoon the layers on top of one another without them mixing. Like a thick slushy.] spoon the strawberry mixture into your popsicle molds first about 1/3 of the way up. Tap on the counter to level.
- Spoon in the lime mixture next making sure there are no air pockets [lightly poke with the top end of the spoon to help fill gaps] then top with the blackberry/blueberry layer and level off the top.
- Place popsicle sticks in the ends [should be thick enough that they remain standing] and freeze until solid. ~4-5 hours.
- Serve once frozen.
*Since popsicle mold sizes greatly vary you may need more of less of each mixture to fill your molds.
*For a creamier version use full fat or light canned coconut milk instead of coconut water!

If you want a bunch of these on hand for a party or holiday, like July 4th, here's what to do: make 1 batch of popsicles, then remove them from the molds and wrap in parchment paper, then place on a baking sheet in your freezer, make another batch, and repeat, continuing to stack them on the baking sheet wrapped in parchment...remove the parchment paper + serve!
Ashley


